
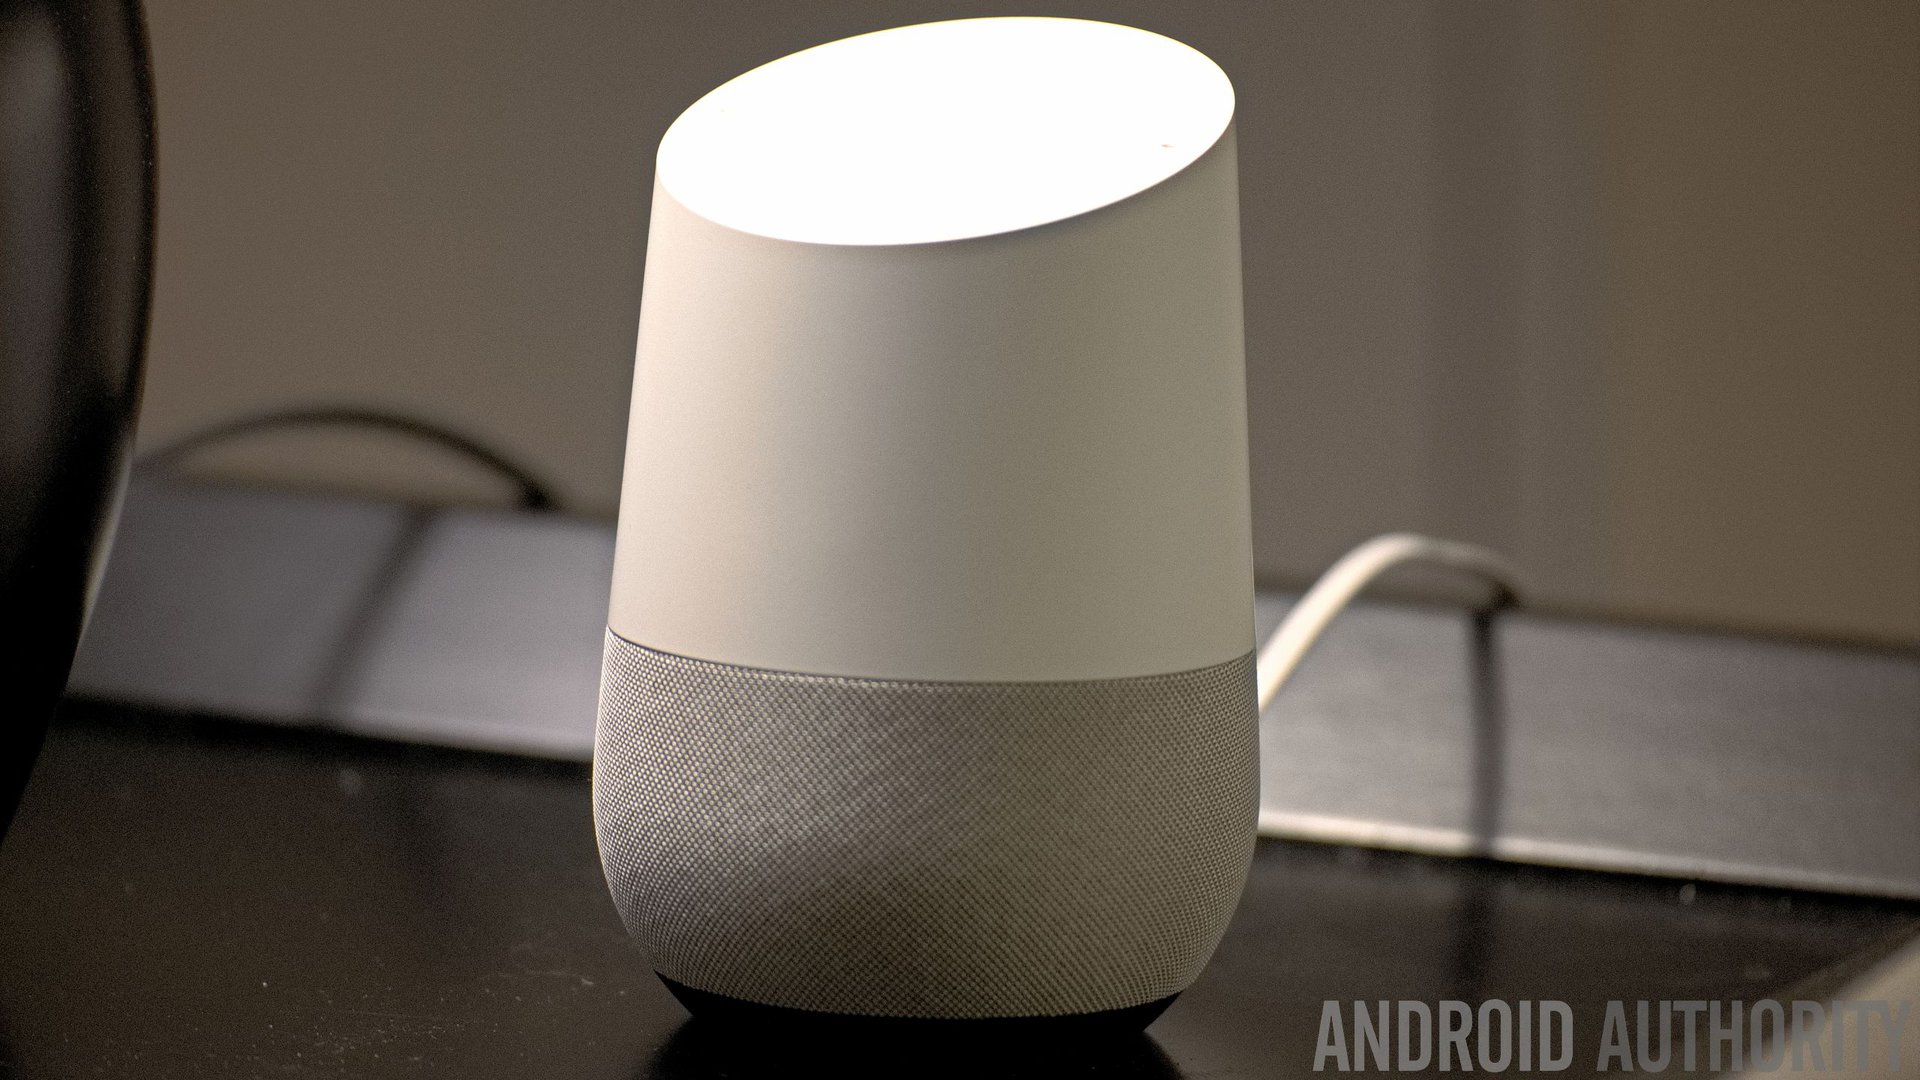
Philips Hue is one of the most popular smart lighting systems on the market. It comes with two flagship products. The first is the Philips Hue light bulb, which works and fits into your normal light bulb sockets except you can change the color and brightness with your smartphone. The other is the Philips Hue light strip, which attaches to things like dressers, entertainment stands, and other such places for a more ambient lighting experience. Thankfully, both work about the same way and you can set them both up the same way.
This guide is to help you set up your Philips Hue lights, add lights to various rooms, and other basic things.

What is Philips Hue?
Philips Hue is a smart lighting system introduced back in 2012. It has undergone several revisions since then. It originally started as an Apple Store exclusive and eventually branched out to other areas such as Amazon, Best Buy, and plenty of other places. New generations are compatible with older generations. The whole system also works with Siri, Google Assistant, Amazon Alexa, Microsoft’s Cortana (with software add-ons), and Samsung’s Bixby (with hardware add-ons).
There are several products in the lineup. The three main products include the standard white, dimmable bulb and the standard multi-colored, dimmable bulb along with the super popular light strip. The standard white bulbs are usually sold in packs rather than individually like the multi-colored products. Some of the extra stuff includes a light bar, several variants of the multi-colored bulb, a bloom light, and even outdoor lighting for your whole house. If you need a good startup kit for Philips Hue, we have one linked up just below.
How does Philips Hue work?
Basically, the Philips Hue Smart Hub controls everything and all lights are unusable without it. Here’s how it works: You send a signal to the Smart Hub with your smartphone through the Philips Hue app. The Smart Hub distributes that signal to all of the applicable lights. They send the signal back to the Smart Hub that the job is done and that information is sent to your smartphone or tablet. This takes place extremely quickly so for many, it looks like the lights are changing colors or brightness in real time. The system is fairly polished.
The Smart Hub requires WiFi to work properly. That’s why you plug it directly into your home router. That way your phone, hub, and lights can all talk to each other over your home WiFi network. Without WiFi and without a Hub, there’s no easy way to connect your lights directly to your phone. It sounds very complicated at first, but it makes more sense after you set up everything.

Prerequisites
We need a few things to start. Unfortunately, these lights don’t just plug in and start working. You need three total things to get your first light up and running on the Philips Hue system.
- You need a Philips Hue Smart Hub. This is the magical box that connects everything together. You usually get one in any starter kit. However, if you managed to make it this far without one, you can buy one on Amazon.
- You obviously need a Philips Hue light bulb or light strip. There are a metric ton of options here. We assume you have one already if you’re here. However, just in case, you can get a standard multi-colored bulb here and a light strip here.
- Finally, you need the official Philips Hue app for your smart device. You can use either iOS or Android for this. You can find a link to the Android version here and the iOS version is here.
That’s everything you need for initial setup. Of course, you can always add more bulbs as you go so don’t worry if you only have one to start with.

The Philips Hue Hub is easy to use. It has one big button at the top and that’s all you need.
Initial Philips Hue setup
Okay, so let’s get your Hub up and working. We’ll take this one step at a time, though thankfully the Philips Hue setup process is actually pretty simple. You don’t need to sign up for any accounts or anything like that.
- Plug your Philips Hue Hub in second. It has two total connections. The first is for power and it does require a wall outlet. The second is a connection directly to your router. No, it does not work with your modem. It has to be plugged into the device that provides your house with WiFi.
- Open the Philips Hue app on your smartphone or tablet. After a few moments, the app should notify you of a new device found on your network. Simply click the Setup button.
- From there, the app prompts you to press the big white button on top of your Hub. You can’t possibly miss it, it takes up like half of the available space.
- Pressing the button finishes the Hub setup and you can now begin to add lights.
That’s it, really. It should take less than five minutes overall unless there are issues. If you find yourself having trouble, disconnect everything and start over again from step one.

Adding additional lights
The initial setup is only really necessary when setting up a Hub. Setting up additional lights is basically the same method, but with lights instead of a Hub. This works for your first light or your 40th light. The process is the same every time.
- Plug your light into its socket if it’s a normal bulb or into the wall if it’s a light strip. Wait a moment for the light to turn on and start fading in and out.
- Open the Philips Hue app. Navigate to the Settings (the cog wheel button). From there, select the “Light setup” option.
- Click on the Add light button toward the top of the app. This takes you to the real setup screen.
- Hit the Search button. The app will search for a light that isn’t already configured.
- Once found, you give the light a name and assign it to any existing rooms you have.
That should be it. The light is now accessible from the main page of the Philips Hue app. It should also be synced up to all of the other lights in the room if you added it to a room. Everything should now work properly. If you have any troubles connecting to the light, we recommend disconnecting the light and fully closing the app and then trying again from step one.

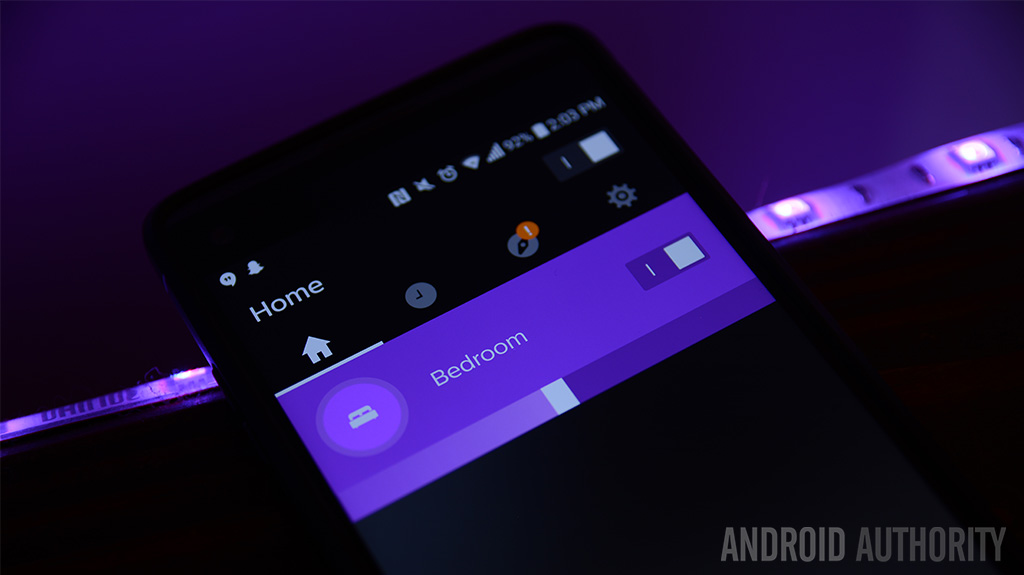
Adding your lights to rooms helps keep things easy and organized.
Add your lights to a room
We’ll briefly go over how to add lights to a room. This is an essential step because it keeps your lights organized and synced together. That way you don’t have to set the color or scene on each light individually. It’s not a difficult process and you can customize this as you choose. For now, though, we’ll go through the basic steps.
- In the Philips Hue app, navigate to the main page and click the Settings button. The Settings button looks like a cog wheel.
- Tap on the “Room setup” option.
- Tap on the “Create room” option toward the top.
- From there, give your room a name and a type. You can also give it a default scene if you don’t want to set that up right away.
- Below that, select the lights you want to use for that room.
- Hit the check button at the top to complete the room.
Now the room shows up on the main page. You can turn it on or off and adjust the scenes and lights like you could before. However, it now controls all of the lights you assigned to that room. A fun customization trick is to create multiple “rooms” for a single section of your house. For instance, during our testing, we set the light strip behind the TV stand as Living Room 1 and the regular bulbs as Living Room 2. We use Living Room 2 to set normal lights and the light strip is set to a different color to add some additional ambiance. It’s a very loose system so you can play with it and make it as granular as you want.

Creating a scene
We’re not talking about the ones Homer Simpson creates whenever he goes into public. The scenes in the Philips Hue app are presets that you create and customize. It works for quickly changing to your favorite colors, dimming the lights as needed, or even dropping everything into a night light mode. Creating them is super easy.
- The New Scene button is visible right on the home page of the app. Click it.
- Select the rooms you want for the new scene. Keep in mind you can always change it again later.
- You are now at the creation screen. Start by tapping to enter a name at the top.
- The default view is the color wheel. You can move the pointer around and select the color you want.
- There are additional options across the bottom. From left to right, the options include the ability to choose a color from a photograph, the white light selector, and the color selector.
- If you go with a photo, the app gives you a bunch to choose from. You can then choose the color you want from within those photographs.
- The white light option lets you set your lights to the same color as regular bulbs. However, you can control the warmth or coldness of the light.
- The color option is the one you should be used to by now. You just select a color and let it go.
- Once you are done selecting your colors, click the check mark button at the top to save your scene.
Scenes are excellent ways to save your preset settings and quickly choose between them. In our home, we have several scenes for each season of the year. For spring, we choose greens and pinks while the winter time gets blues.
10 best Google Home apps
With the above tutorials, you should have a pretty good idea of how to work your Philips Hue lights. It’s a bit of a pain at first, but the biggest thing here is just learning the muscle memory. You’ll be floating around the app and changing up your scenes all the time soon enough!
from Android Authority https://ift.tt/2HgrwHK
via IFTTT


Download SHAREit Transfer Apk Latest Version
ReplyDelete