There are tons of Linux-based operating systems with each designed for specific use cases. Like, if you’re a beginner, you have Ubuntu, Linux Mint, and Pop!_OS. If you’re a more advanced user and want full control of your OS, you have Arch Linux and Gentoo. Or if you’re an ethical hacker and penetration tester, you may choose Kali Linux, Parrot OS, or Tusurugi Linux.
But the common thing that each of them possesses is the installation step that everyone has to go through first. Some have the easiest installation process like Ubuntu while others like Arch are a tough nut to crack. So, if you have ever wished someone could install Linux and configure settings for you so that you can just get on and start using it, AutoTux is a perfect Linux distro for you.
AutoTux Linux Review: A Fully Automated Installable Linux System
AutoTux is a Debian based Linux operating system with a lightweight Xfce desktop environment and software packages. The main philosophy behind AutoTux is to provide a pre-cooked operating system without wasting time to let users install and configure its settings initially.
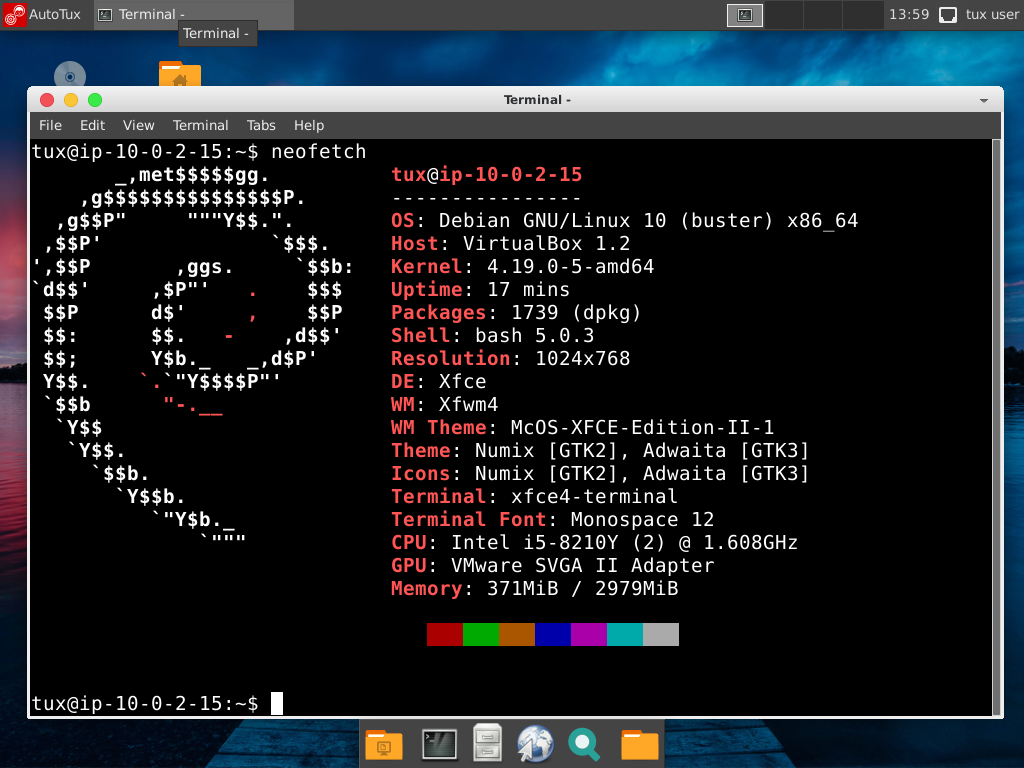
The first official version of AutoTux was released in August 2019. Currently, the latest version 2.0 is based on the rock-solid GNU/Linux Debian 10 “buster” featuring long term Linux Kernel 4.19.
Installation Experience of AutoTux
As I defined above, we don’t have to go through this step. What I mean to say is that you first download the ISO image, burn it on a USB or DVD to create a bootable drive either on Linux or Windows and then boot the system.
In less than 20 minutes you will have a fully installed operating system with all your required applications. And the catch is that you don’t have to click or type anything to set your username, disk partition, or anything else.
For me, AutoTux 2.0 took around ten minutes to install in my VirtualBox with recommended system settings. If you are thinking of trying it right now, I want to warn you, do not try to dual boot it alongside your production system.
This is because the system is installed on the first available disk by wiping out a full hard disk and overriding the existing partition table. So, after you download AutoTux, make sure that you’re trying to install it on an empty computer or virtual machine.
Fully Automatic Installation (FAI) Tool
Unlike other Linux distributions, AutoTux installation begins with a Fully Automatic Installation window. If you don’t know about FAI, it is an almost 20-year-old project by Thomas Lange that helps to organize the installation of a Linux cluster and set up varying environments automatically.
For AutoTux, as you can see, it automatically unpacks, installs, and configures all applications and settings without any user intervention. It includes disk partition, network configuration, user management, app installation, set time, and location.
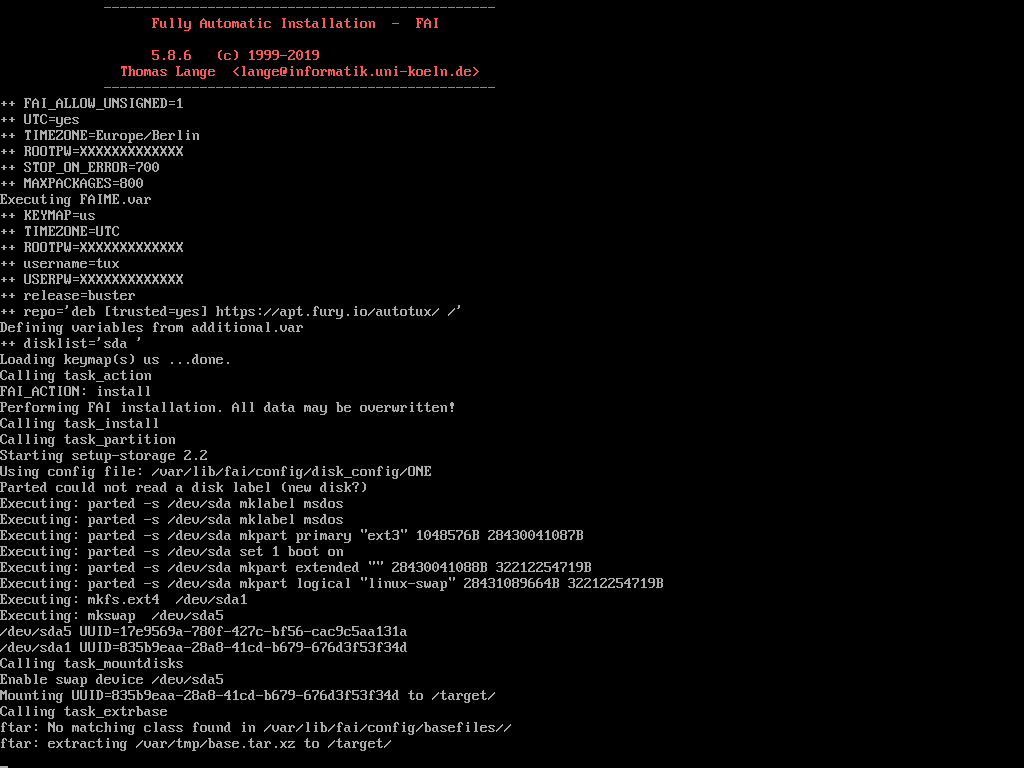
I’ve installed it on my VirtualBox with the recommended system settings of 3GB RAM, 128MB Video memory, and 20GB+ free disk space. One more thing I would like to mention is that though the official documentation suggests the boot order of Optical and then Hard Disk, I would advise the exact opposite of that.
This is because once FAI finishes the installation, it prompts you to reboot the system by pressing ENTER without removing the media. Here, to avoid re-installation after computer restarts, you must have a Hard Disk boot first unless the installation starts again.
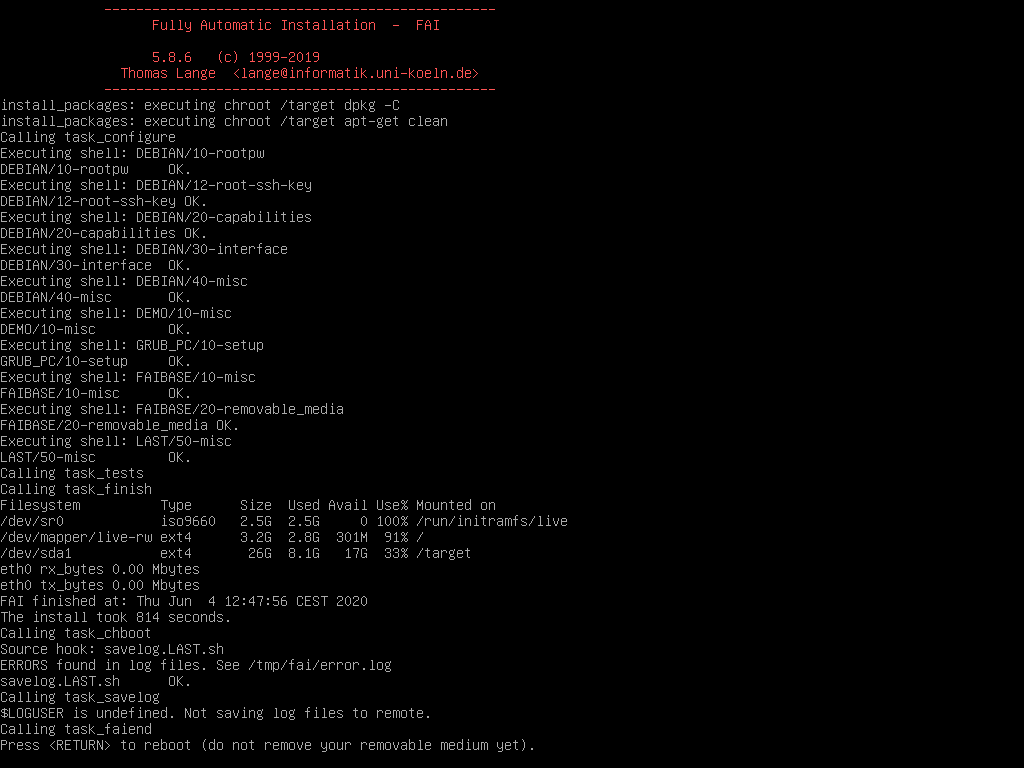
If you’re installing it on your computer machine, you can remove your media to avoid reinstallation.
Getting Started With AutoTux
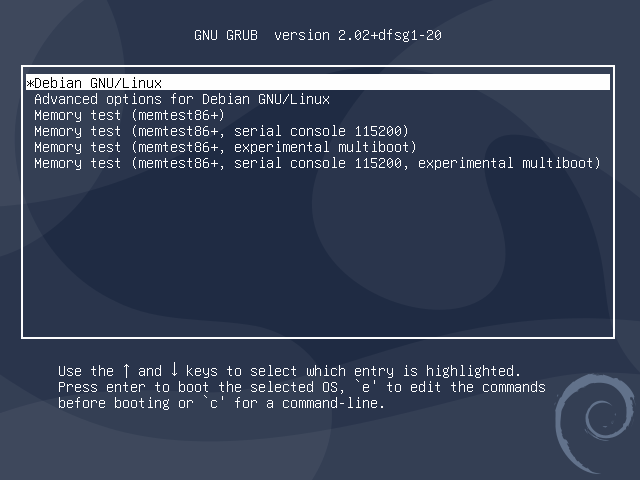
Once AutoTux restarts, I redirected to the boot menu where I chose ‘Debian GNU/Linux’ to boot into AutoTux.
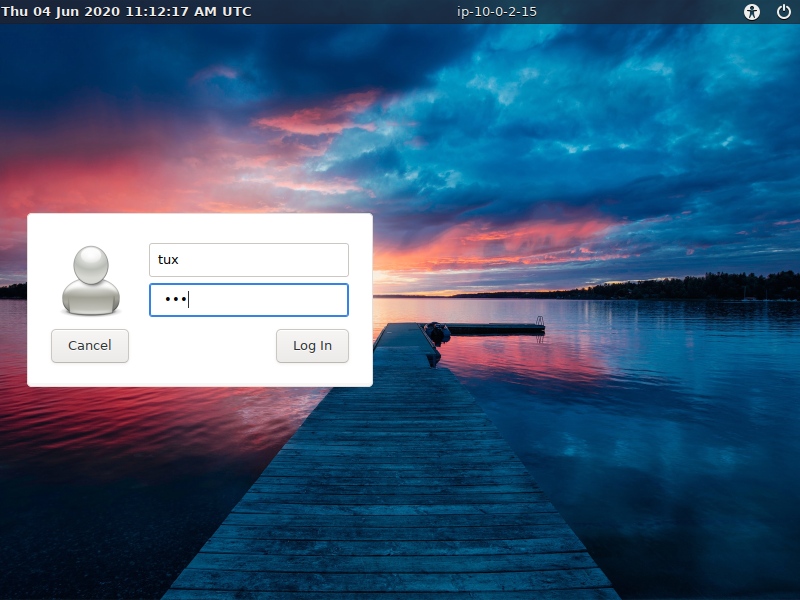
To log in, AutoTux provides the default created username and password ‘tux.’
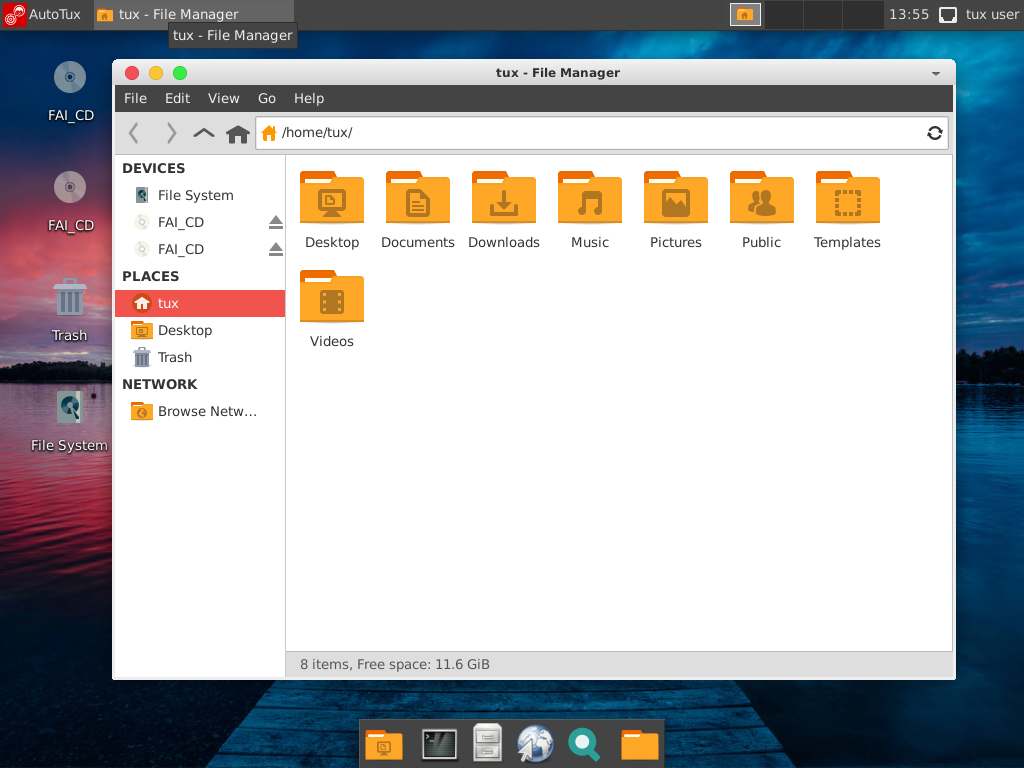
Now, as I reach the desktop, I get a vibe of macOS as it’s using the macOS Mojave-like icon theme by default.
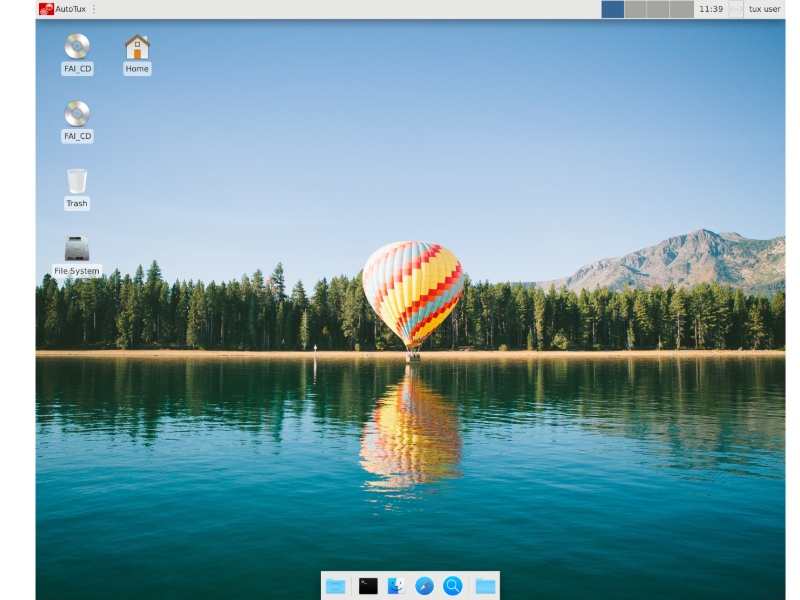
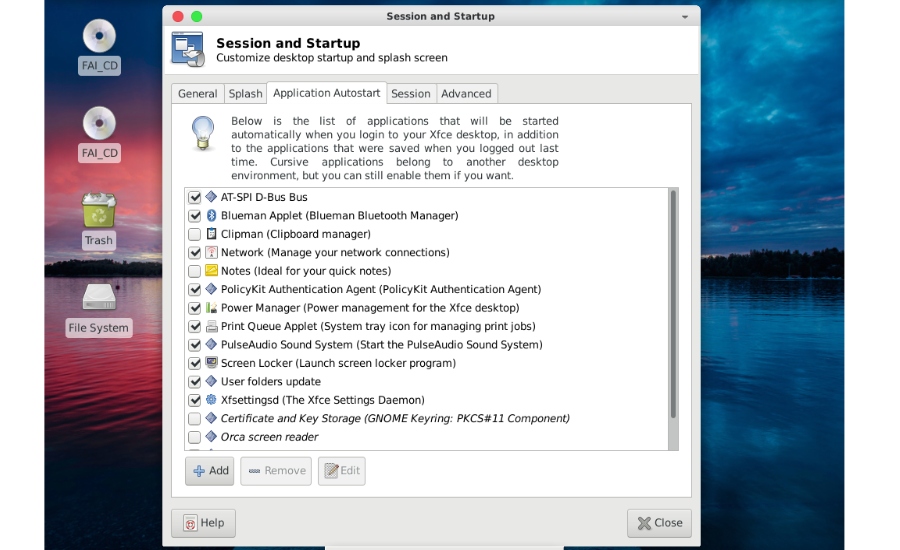
The desktop looks simple with few applications on the dock such as a terminal, file manager, Chrome, and application finder. The panel has few event options too such as applications, workspaces, time & calendar, and tux user for log out or restart.
System Theming And Customisation
Let’s move on with my AutoTux review and start tweaking the system to know what else offers. We can begin by changing its appearance.
AutoTux offers five preinstalled icon themes. But what I notice is something wrong with the High contrast and Adwaita theme. I found the application finder app icon missing from the dock while choosing these themes.
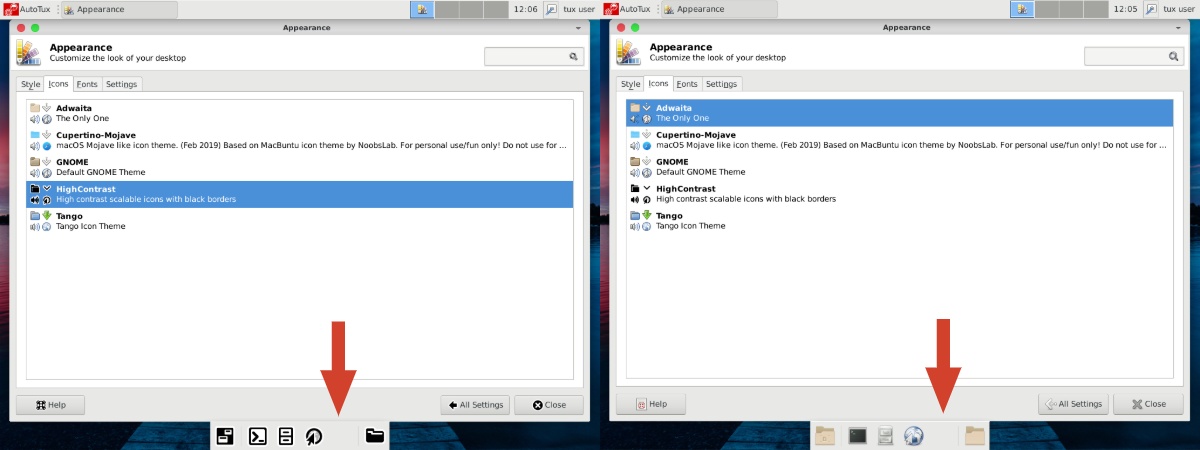
So, if you don’t like any of these available themes, you can also install a new and better one. You may know, on Xfce, we can install software or theme either from the command line or using the GUI app, Synaptic Package Manager.
Unexpectedly, I could not open Synaptic from the application menu as it prompted for the root password. But did we set a root password? No, AutoTux has created a root and tux users and its password.
Though AutoTux revealed a password of Tux users, it does not provide a root password so we are stuck here.
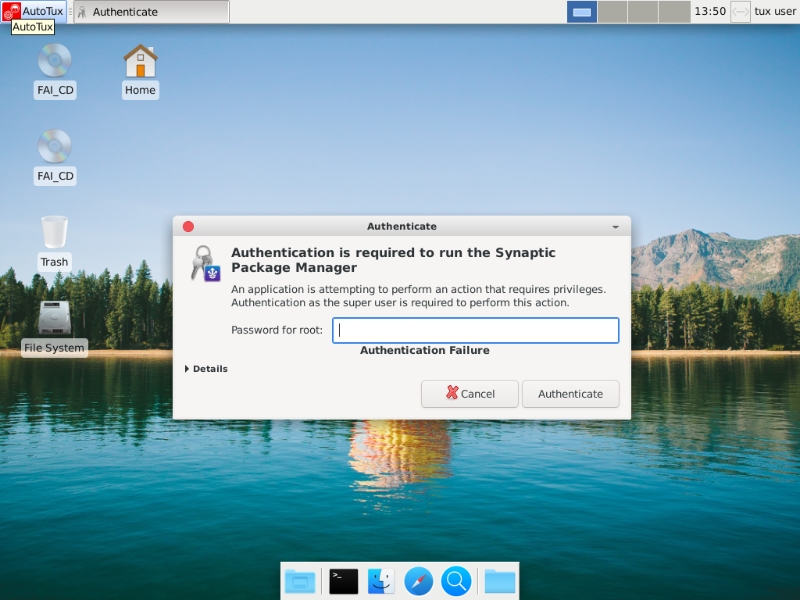
How can we install app now? Well, to resolve such a problem, AutoTux suggests to switch to the root user and change its password.
sudo su
passwd
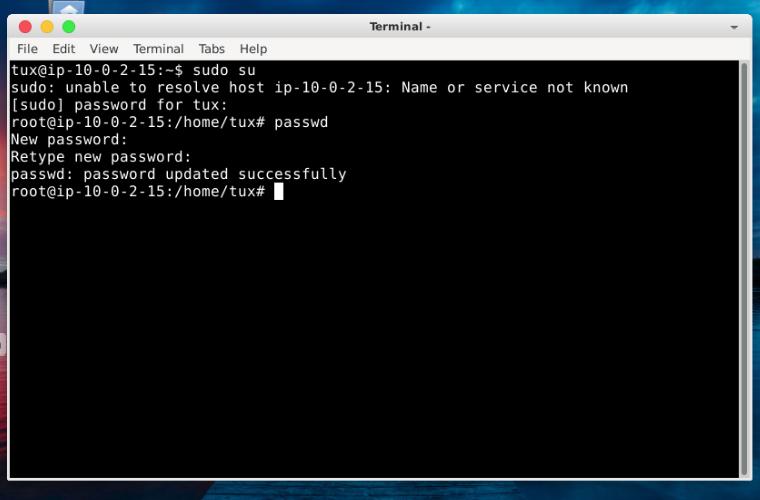
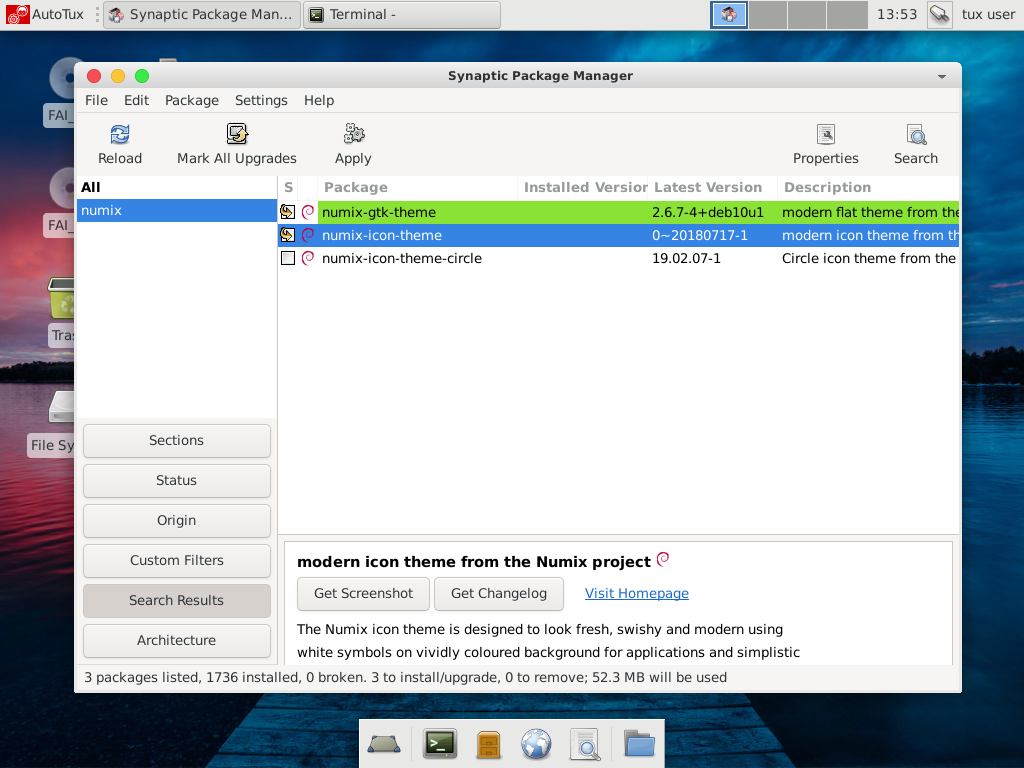
Once I changed the password, I could log in to synaptic and install the new apps or themes. Here I installed Numix GTK and icon theme.
Furthermore, if you don’t like the automatically generated hostname, you can also change it by editing the /etc/hostname and /etc/hosts file.
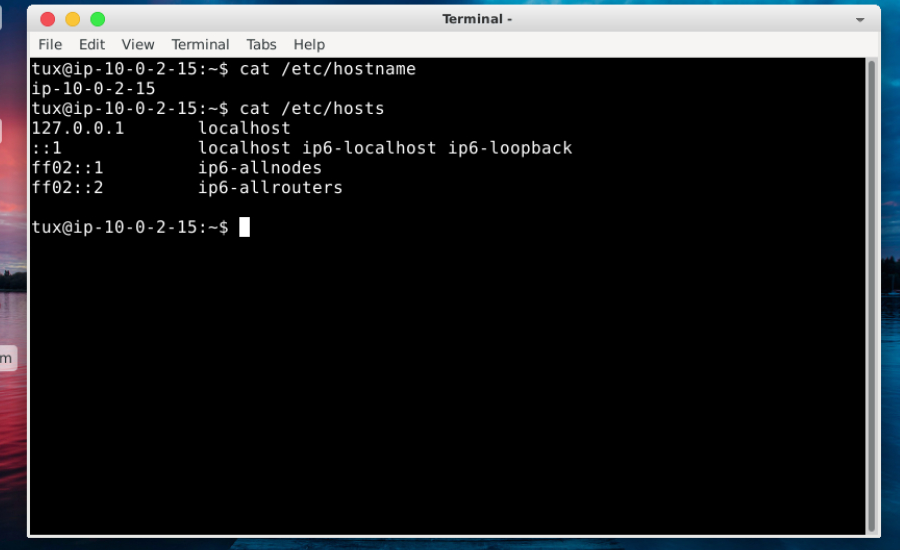
Edit both files and replace the ip-10-2-15 with new name fossbytes.
sudo vim /etc/hostname
sudo vim /etc/hosts
Once you’re done, restart the system and you’ll see the new hostname.
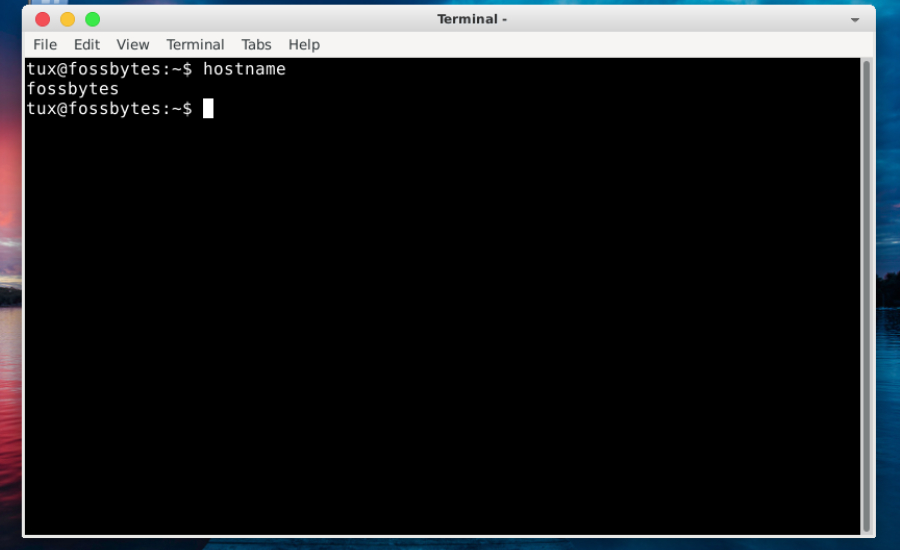
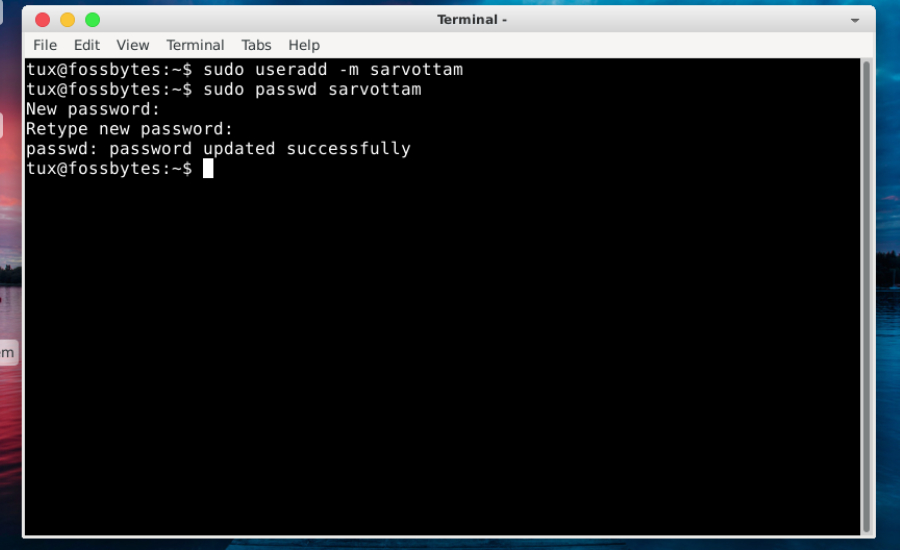
Similarly, we can also change the username or create a new user. To create a new user with a home directory, run the command:
sudo useradd -m sarvottam
sudo passwd sarvottam
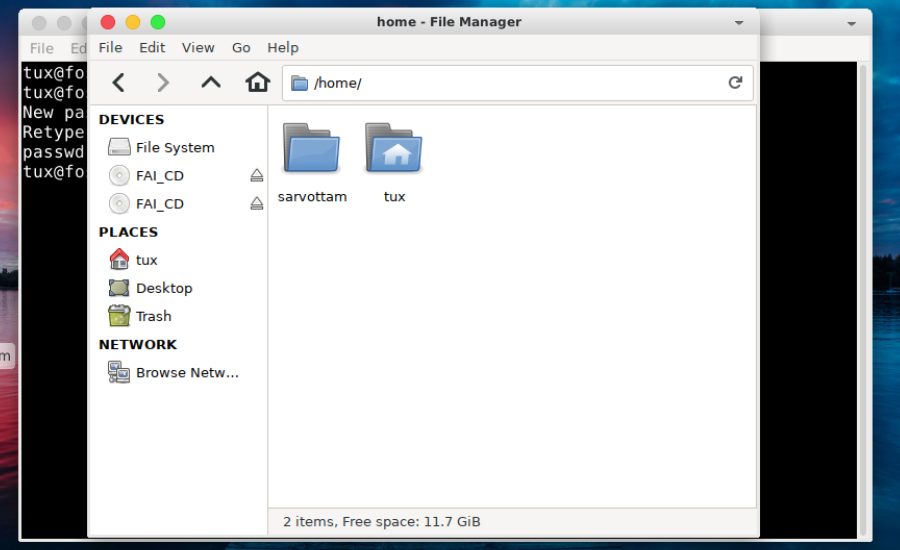
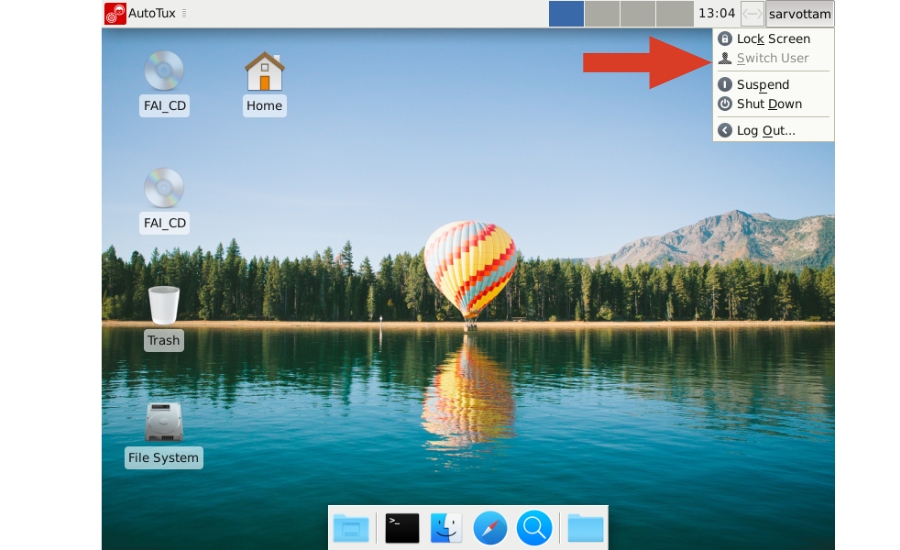
Here again, I noticed an issue with AutoTux. Though it gives an option to switch to another user, the option actually does not work for me.
Applications
Moving on to another important component, AutoTux also comes with several preloaded applications that might interest you a lot.
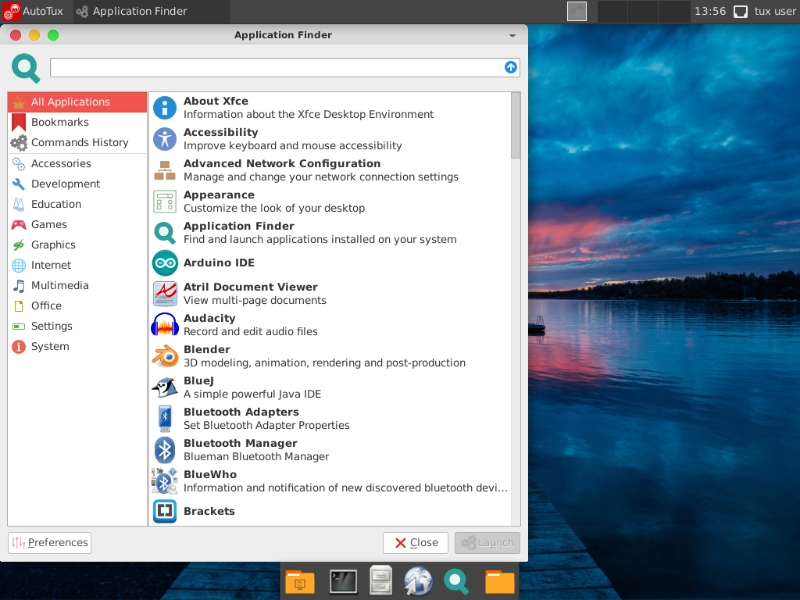
Here is the list of key applications for each category:
- Accessories — Task manager, Vim, Xarchiver, BlueWho
- Development — Arduino IDE, BlueJ, Brackets, Fritzing
- Education — LibreOffice Math, Scratch Desktop
- Game — DOSBox Emulator
- Graphics — Blender, Inkscape, Peek, GIMP, ImageMagick
- Internet — Google Chrome, Firefox ESR, PuTTY SSH Client, qBittorent
- Multimedia — VLC, Audacity
- Office — LibreOffice Suite, PDF Studio Viewer, Dictionary
- System — Htop, Xfce terminal, Sensor viewer, Synaptic
Have you notice DOSBox Emulator? Yes, AutoTox also offers x86 emulator with DOS to play old DOS games.
System Performance and Speed
If you wish to try AutoTux on your system with low-end resources, you might be interested to know its performance and speed.
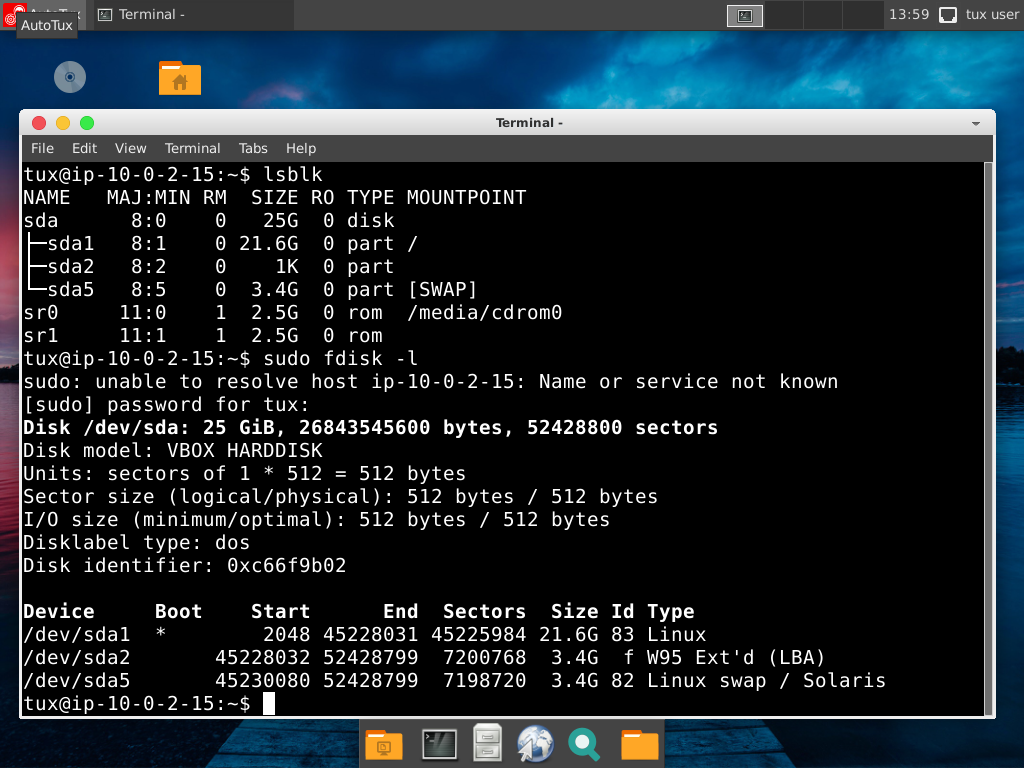
First, if we look at AutoTux’s automatically generated partition scheme, it creates three main partitions on the disk: root, swap, and W95 Extended (LBA).
With Xfce, it is lightweight and runs very smoothly on my VirtualBox where I experienced Ubuntu 20.04 getting slow after a few minutes. Of course, AutoTux has a few less software and also a low amount of application that runs in the background.
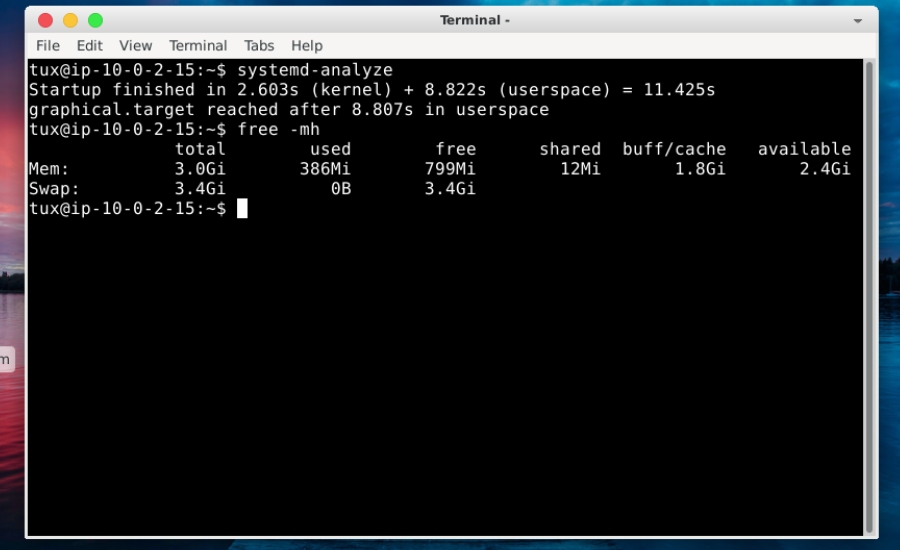
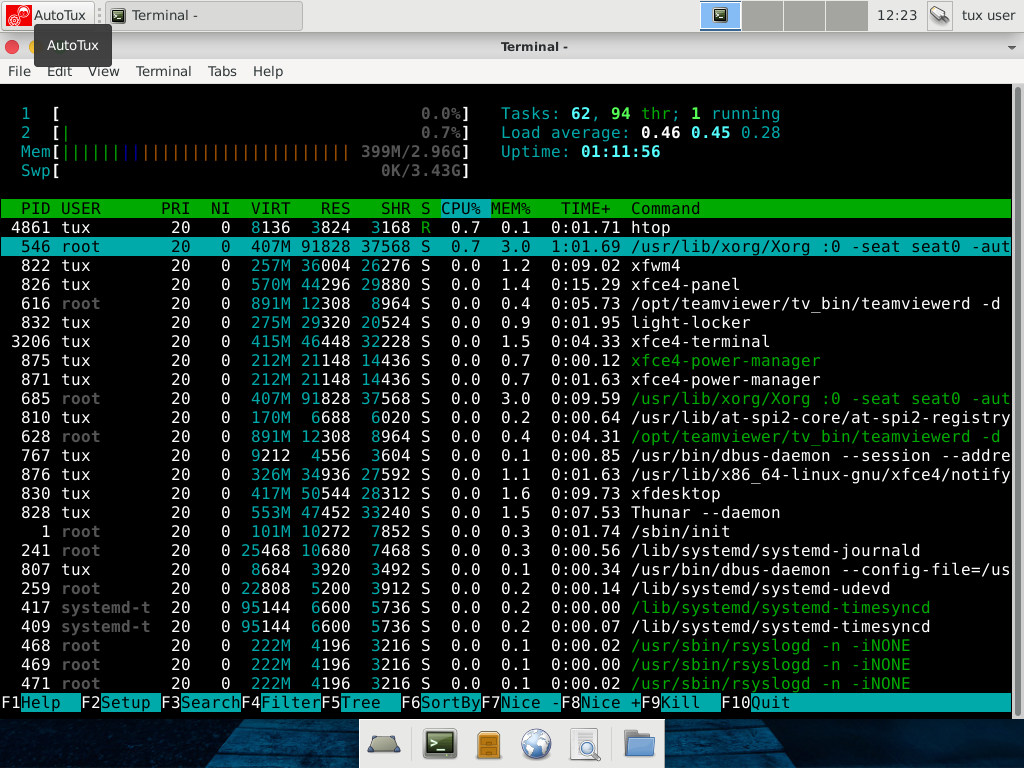
I’ve allocated 3GB of RAM to AutoTux. Surprisingly, it uses less than 400MB memory while running no application which leaves a lot of space to run other applications fast.
Its boot time also seems good as it takes around 8.8 seconds to reach graphical userspace.
Major Concerns About AutoTux
Before I reach the conclusion, I want to address the issue that I encountered with AutoTux. The first major concern is overriding full disk space. Someone who might miss reading the warning that it automatically wipes all hard disks may lose all its data and pre-installed operating system.
So, this section needs to be addressed carefully to new users unless they might lose a big thing. Second is the Synaptic which requires root permission. Among other small issues, AutoTux also needs to fix the missing icons on some themes and switch users options to make them better.
Conclusion: Should You Try AutoTux?
Gathering my overall experience from the AutoTux Review, I’m impressed with it and you can consider giving it a shot. Its automatic installation philosophy delivers what it aims for.
AutoTux can also be one of the beginner Linux distros that won’t confuse them with what partition and space they should create. However, Xfce desktop with some software might not look to them as appealing as GNOME or KDE. But if AutoTux replaces Xfce with other beautiful desktops, it would definitely be a cherry on the top.
What do you think of this automated Linux distros? Can it be an option to replace your current system? Do share your opinion in the comment section below.
The post AutoTux Review: A Linux Distro That Fully Automates Installation Process appeared first on Fossbytes.
from Fossbytes https://ift.tt/3e4Ind3
via IFTTT


0 comments:
Post a Comment